Monday, March 19, 2012

New for Spring, Baby Jives #2


I've got a brand new model for Baby Jives Co., my new daughter Elodie.  Here she is making her debut this weekend at 3 weeks old.  She really was captivated by the butterfly mobiles and kept making the cutest face when she would purse her lips to consider them.  I called it her "Ooooh butterflies!" face.  I of course am a biased judge. 

Monday, December 5, 2011

Who wants love?

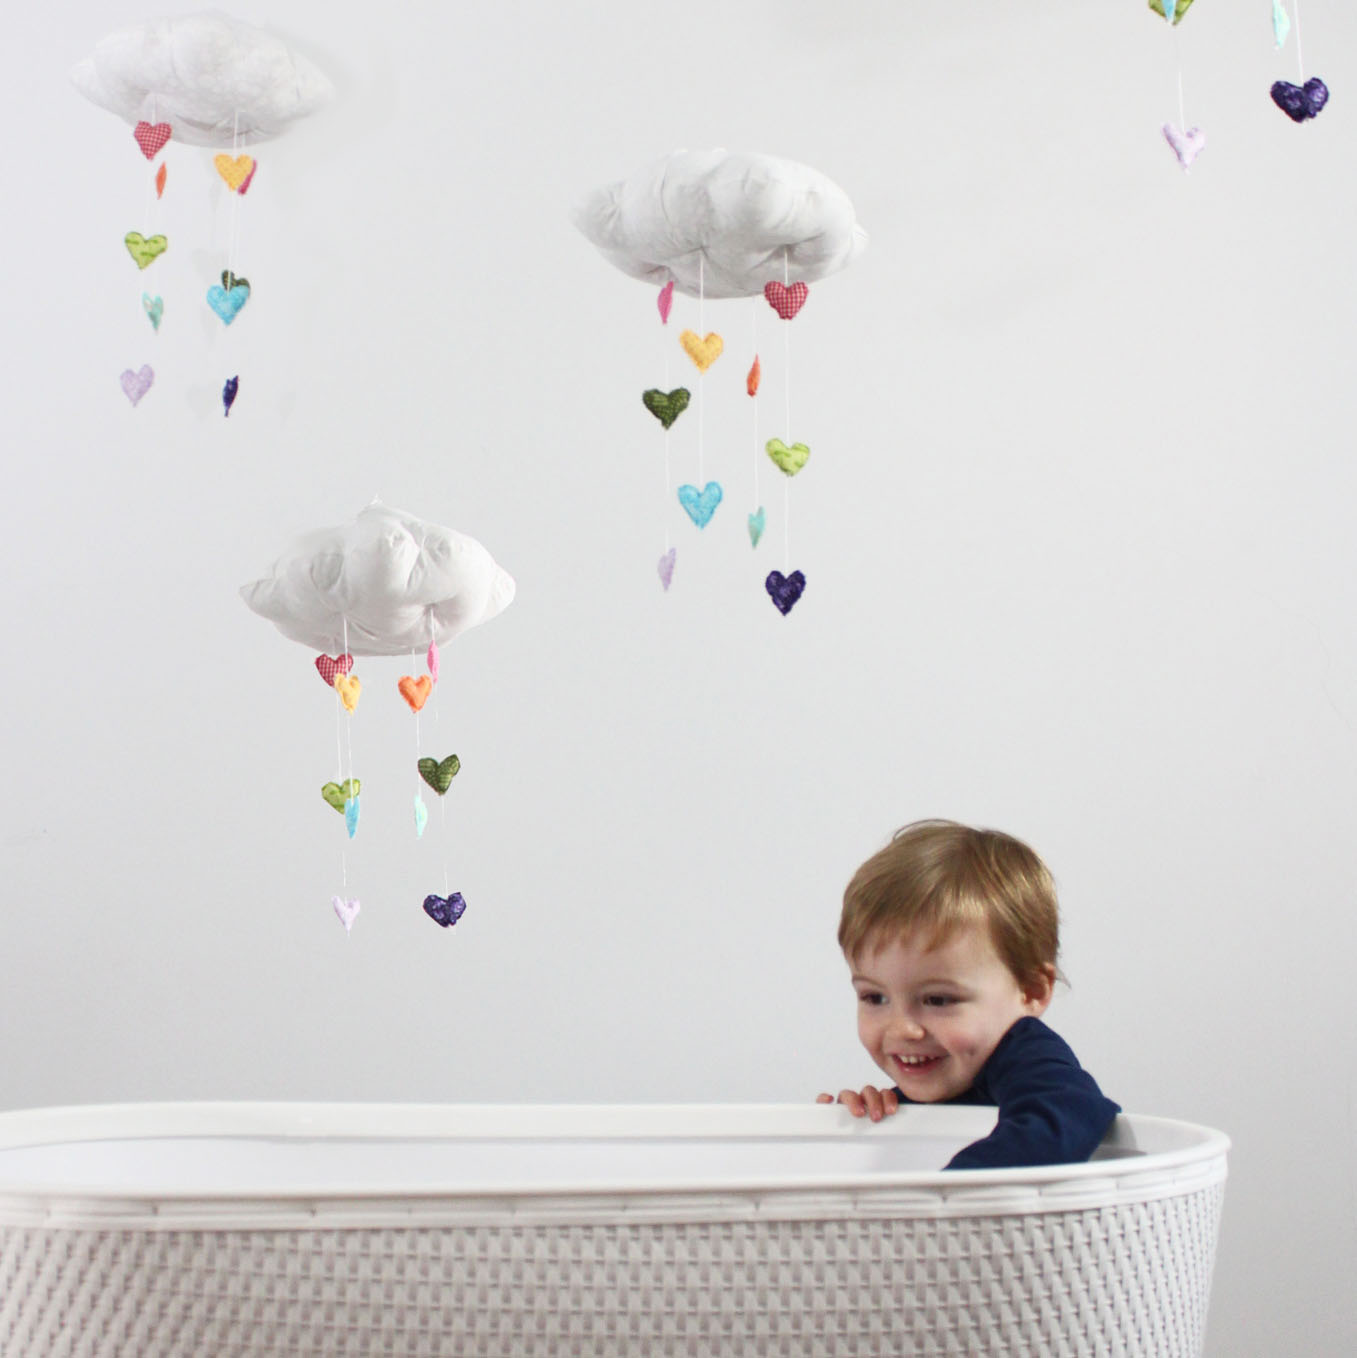
My newest mobile, Showered with Love, is in the shop today and I couldn't be more excited about it.  I have had the idea of making a mobile to shower my little ones with love for a long time now and to see it finally take shape is so rewarding.  We had a lot of fun this weekend doing a photo shoot for the new mobile and I wanted to share a few of the pictures that didn't make it into the listing with you...

I hope he will look this excited once Baby Jives #2 is actually there.
Munching on cranberries and contemplating love.
Here is my quality control expert in action.  It passed inspection.


He did feel very loved there under his special cloud.
 Well that is my behind the scenes peek at the photo shoot for the newest mobile.  It's in my shop now so you can get one for your sweetheart and shower them with love every day. 

xoxo
Jahje

Saturday, December 3, 2011

Inspired by Love


The laughter of a child is something that can fill a heart to the brim with love.  Joy bubbles up and escapes from a wonderful little being.  In our daily life there are so many moments where we are showered with love.  With all this in mind, I have been working on a new mobile design and it is finally ready for the shop. 


Here are a few glimpses from my studio of things taking shape.  Collecting jars of love, which can sometimes be a little rough around the edges.    Then finally assembling them into a mobile that can rain down love everyday.


Now the newest mobile is almost ready for your life.  A way to celebrate love in your home.  It's getting ready for the big reveal...

Tuesday, November 15, 2011

How to make a $7 baby cardigan into a lasting heirloom

Things have been so busy with Baby Jives Co that I have barely had time to consider getting ready for this little one dancing in my belly.  But this weekend I think the nesting bug finally hit me because I just kept having visions of a sweet little cardigan embellished with wool felt flowers and bits of crochet lace.  So I knew I needed to set aside a little time for a fun project.  Oh yeah, did I mention that I also found out that I am having a girl?  Finally I get to think about flowers and embroidery and lace!

So I set out this morning in search of  a plain cardigan to embellish and found a sweet little turquoise one which was just begging to be transformed.  After an hour of work here is what I ended up with:


I loved the results so much that I knew I just had to type up a tutorial for all those semi-crafty ladies out there.  So what follows is a pretty easy project on how to make a $7 cardigan into a $70 heirloom (which is what I am sure you would end up paying at a fancy baby boutique for something similar made by anonymous hands elsewhere in the world).  So what are you waiting for, let's do this!

What you'll need:
plain color baby cardigan (I found a great one at H&M)
2 colors or more of merino wool felt (I prefer this for a durable and washable material)
cotton or silk embroidery thread
crocheted doily which can be cut up (aka won't unravel)
embroidery needle
sewing scissors
disappearing ink pen

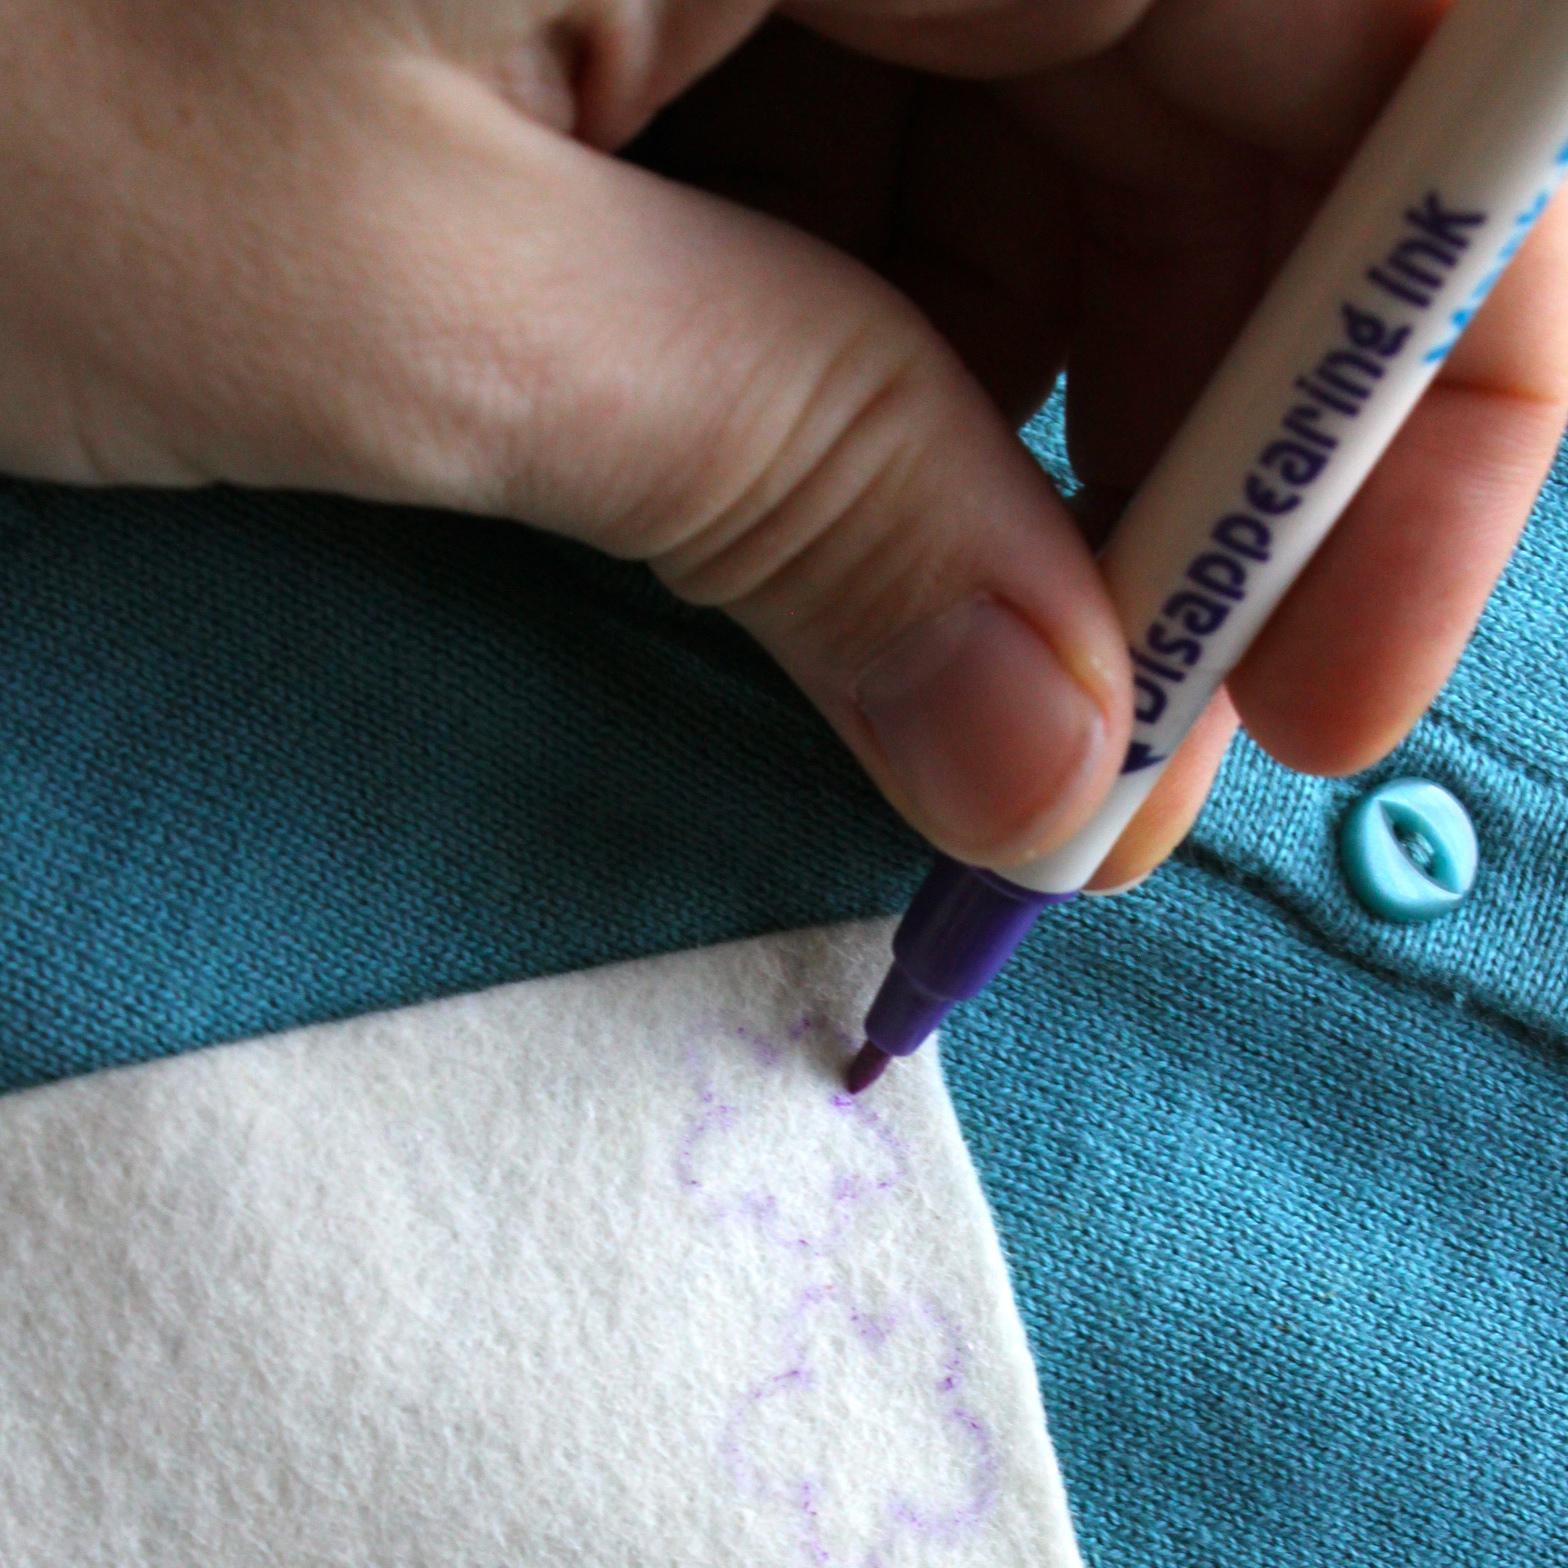
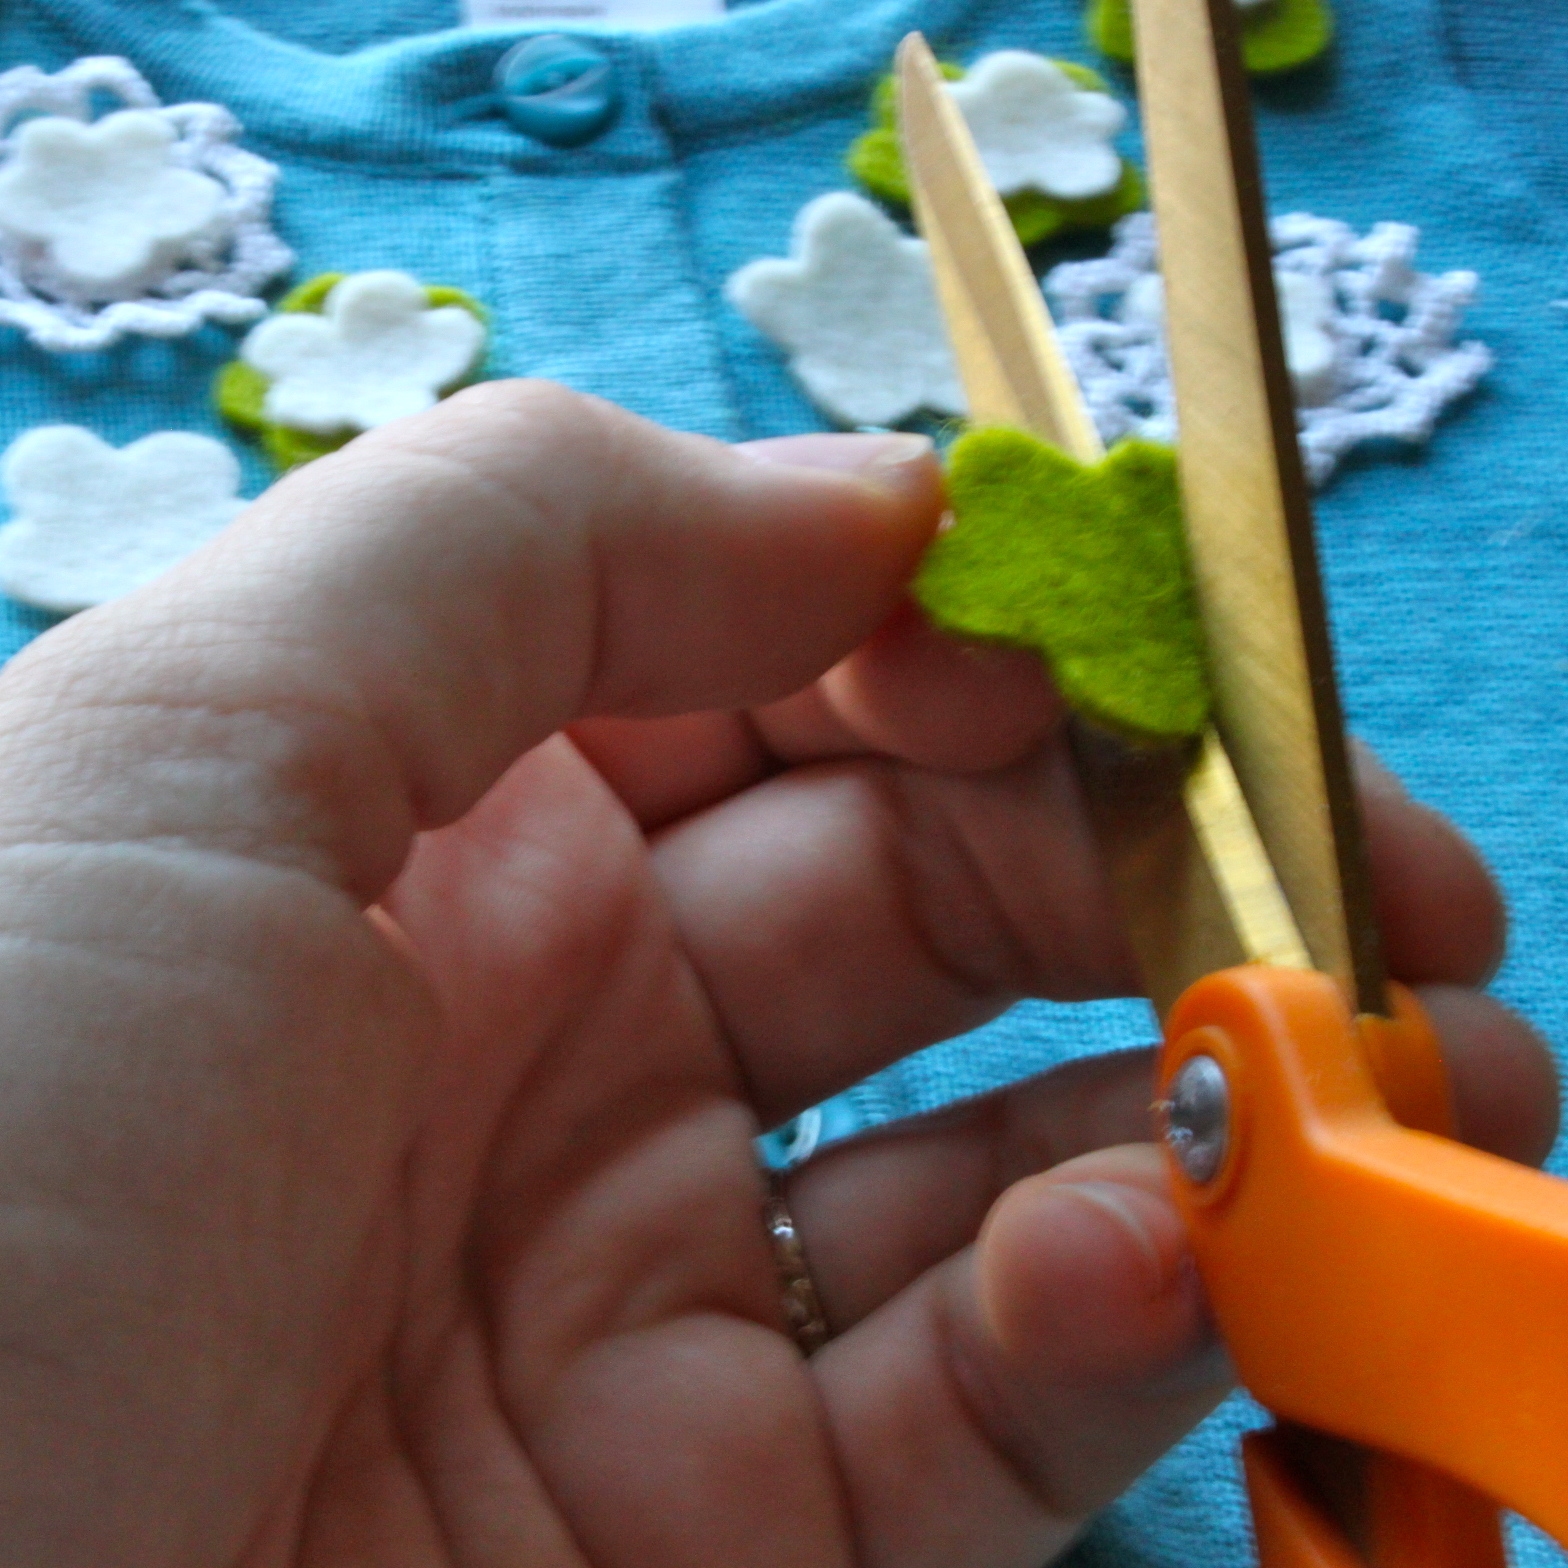
Now you are ready to roll...First sketch flowers with five rounded petals onto wool felt with disappearing ink.  I made mine about the size of a nickel for the flower center and a quarter for the back flower piece.  You will want to make about 7-8 flower pairs depending on the size of your cardigan.  I used 2 different colors of merino wool felt but you can choose as many colors as you want.  Once you have sketched your flowers cut them out with sewing scissors; you can also cut a few leaf shapes too. 


I also chose to incorporate some crocheted lace that I had from a doily.  I cut 2 pieces off and then positioned them on the cardigan with the other felt pieces in a rough arrangement of how I wanted to sew them.  I then took a picture of the arrangement so I could move the pieces to the side but refer to the picture in case things got mixed up (which they did).


Now we are ready to sew.  Thread an embroidery needle, knot the end, and then start with the top flower by the collar.  Stack the 2 felt pieces and then stitch through them with three stitches to make a star shape in the center.  Then using a stem stitch  make your way to the spot for the next flower. 


The next piece to secure was the crocheted medallion.  To secure the crochet stitch around the edge and then place the felt piece in the center and secure it with another star shaped stitch.


Continue along the neck of the cardigan using a stem stitch between flowers to create a loose vine pattern and securing the flowers with a star shaped stitch.  For the few leaves that I included I used a split stitch.  Then when you reach the bottom side of the cardigan secure the thread with a french knot on the inside of the sweater.  Now repeat the process from the top on the other side of the cardigan.


Once finished you will have created an heirloom cardigan which would have cost a heck of a lot more than $7 in a boutique.  So now you can spend that money on some decor for the nursery instead, since that won't be outgrown in 3 months. 


A final note on care, I plan on washing this by hand in cold water and laying it flat to dry.  This will extend the life of the cardigan so I can pack it away once the little lady outgrows it to save it for future generations, mine or hers.




Wednesday, September 21, 2011

Bunting Gift Tags

I hate to throw away any of my beautiful fabrics.  Many of my details in my mobiles are from fabric offcuts that occur while cutting out the main pattern, but even employing that I still have scraps that are too small to reuse but too pretty to throw out.  Seriously I save the tiniest scraps, I have drawers full of fabric.

So in order to save myself from a mountain of towering scraps which engulf me one day I decided I needed to do something with all these bits.  So I came up with these easy to make bunting gifts tags which I now use as a quick way to dress up my gifts.


Now here's how you can make use of your tiny scraps too...


First cut your scraps into the shape of little bunting flags - about 1/2 inch high.  Then cut a piece of 4 x 6 inch colored card stock in half to make 2 3x4 inch cards.   Take a few of your flag pieces and arrange them across the top of the card. 


Now you are ready to sew them in place. I used a contrasting thread dark enough to show up on the card stock and a #2 stitch on my machine to sew the bunting flags in place (your machine may be slightly different, you want to use a stitch with a little bit of space otherwise the card may tear).


Then trim the extra thread off the edges and use a micro or regular hole punch to create a hole for the ribbon to go through.  Now you are ready to wrap up your gifts with your pretty new cards.  How easy was that!

Tuesday, September 13, 2011

Working on something new...Baby Jives #2!

I have been working on something brand new and now I can finally share it with you - I'm pregnant with Baby Jives #2 due in the beginning of March 2012!

Owl Hats by Sweet Love Creates, $34 found via 20BestTwenty
It's been a fun summer filled with vacations, exhaustion, and  morning sickness ... well actually mine was more like anytime but morning sickness as I usually woke up feeling fine.  But now my energy is back and the creativity is flowing so I am looking forward to an intense burst of production leading up to this birth.  My last pregnancy with my son was when I got the idea for starting Baby Jives Co. and now with this one I'm already bursting at the seams with new ideas for Baby Jives Co.  So I am running up to my studio to get sewing...right after I eat this entire box of muffins.  I can't help it, the baby makes me do it!

Wednesday, August 31, 2011

Come Sail Away!

Last time I gave a little sneak peek of my newest mobile design which was getting ready to launch.  Now I am happy to announce after a week of intense studio time I have created a new fleet to release this week!  Presenting the newest mobile in the baby Jives line....let's sail away!


This mobile was inspired by my son and his obsession for the past year with boats.  One way I love to spend time with my son is to settle in and read a good book with him, we have lots of them laying around the house (sometimes piled under his cars and trucks).  This particular mobile was actually inspired by one of his favorite books called simply Toy Boat by Randall de Séve and Loren Long.  It is the whimsical tale of a boy and his boat who are inseparable until one day when the boat blows off to have his own adventure.  This book is gorgeously illustrated and while reading it I have started to imagine creating my own fleet of boats for my little boy to have his own adventures with.  So a few months ago I jotted down this sketch...


And then this past month I finally got to have an uninterrupted day in the studio to make my dreams come into reality.  Here are a few photographs of the voyage so you can see how my little boat came into being...


The finished boat is one that drums up memories of childhood and the simple act of making something magical out of a few bits of cloth and sticks.  I wanted to create a toy boat for my little boy that could be something he could take adventures in - sailing away to new lands under the moon and stars like so many of my favorite children's books.   Now my little adventurer finally has his toy boat, well actually he has a fleet of small toy boats which will be hanging in his new big boy room.  Together I know they will create many wonderful stories and adventures as they sail off into his imagination.


Do you think your little dreamer would like to sail off on a new adventure?  Then visit my shop at Baby Jives and you can get them their very own boat to voyage with and then...

Come with me
And you'll be
In a world of
Pure imagination
Take a look
And you'll see
Into your imagination

We'll begin
With a spin
Traveling in
The world of my creation
What we'll see
Will defy
Explanation

- Willy Wonka