So I set out this morning in search of a plain cardigan to embellish and found a sweet little turquoise one which was just begging to be transformed. After an hour of work here is what I ended up with:

I loved the results so much that I knew I just had to type up a tutorial for all those semi-crafty ladies out there. So what follows is a pretty easy project on how to make a $7 cardigan into a $70 heirloom (which is what I am sure you would end up paying at a fancy baby boutique for something similar made by anonymous hands elsewhere in the world). So what are you waiting for, let's do this!
What you'll need:
plain color baby cardigan (I found a great one at H&M)
2 colors or more of merino wool felt (I prefer this for a durable and washable material)
cotton or silk embroidery thread
crocheted doily which can be cut up (aka won't unravel)
embroidery needle
sewing scissors
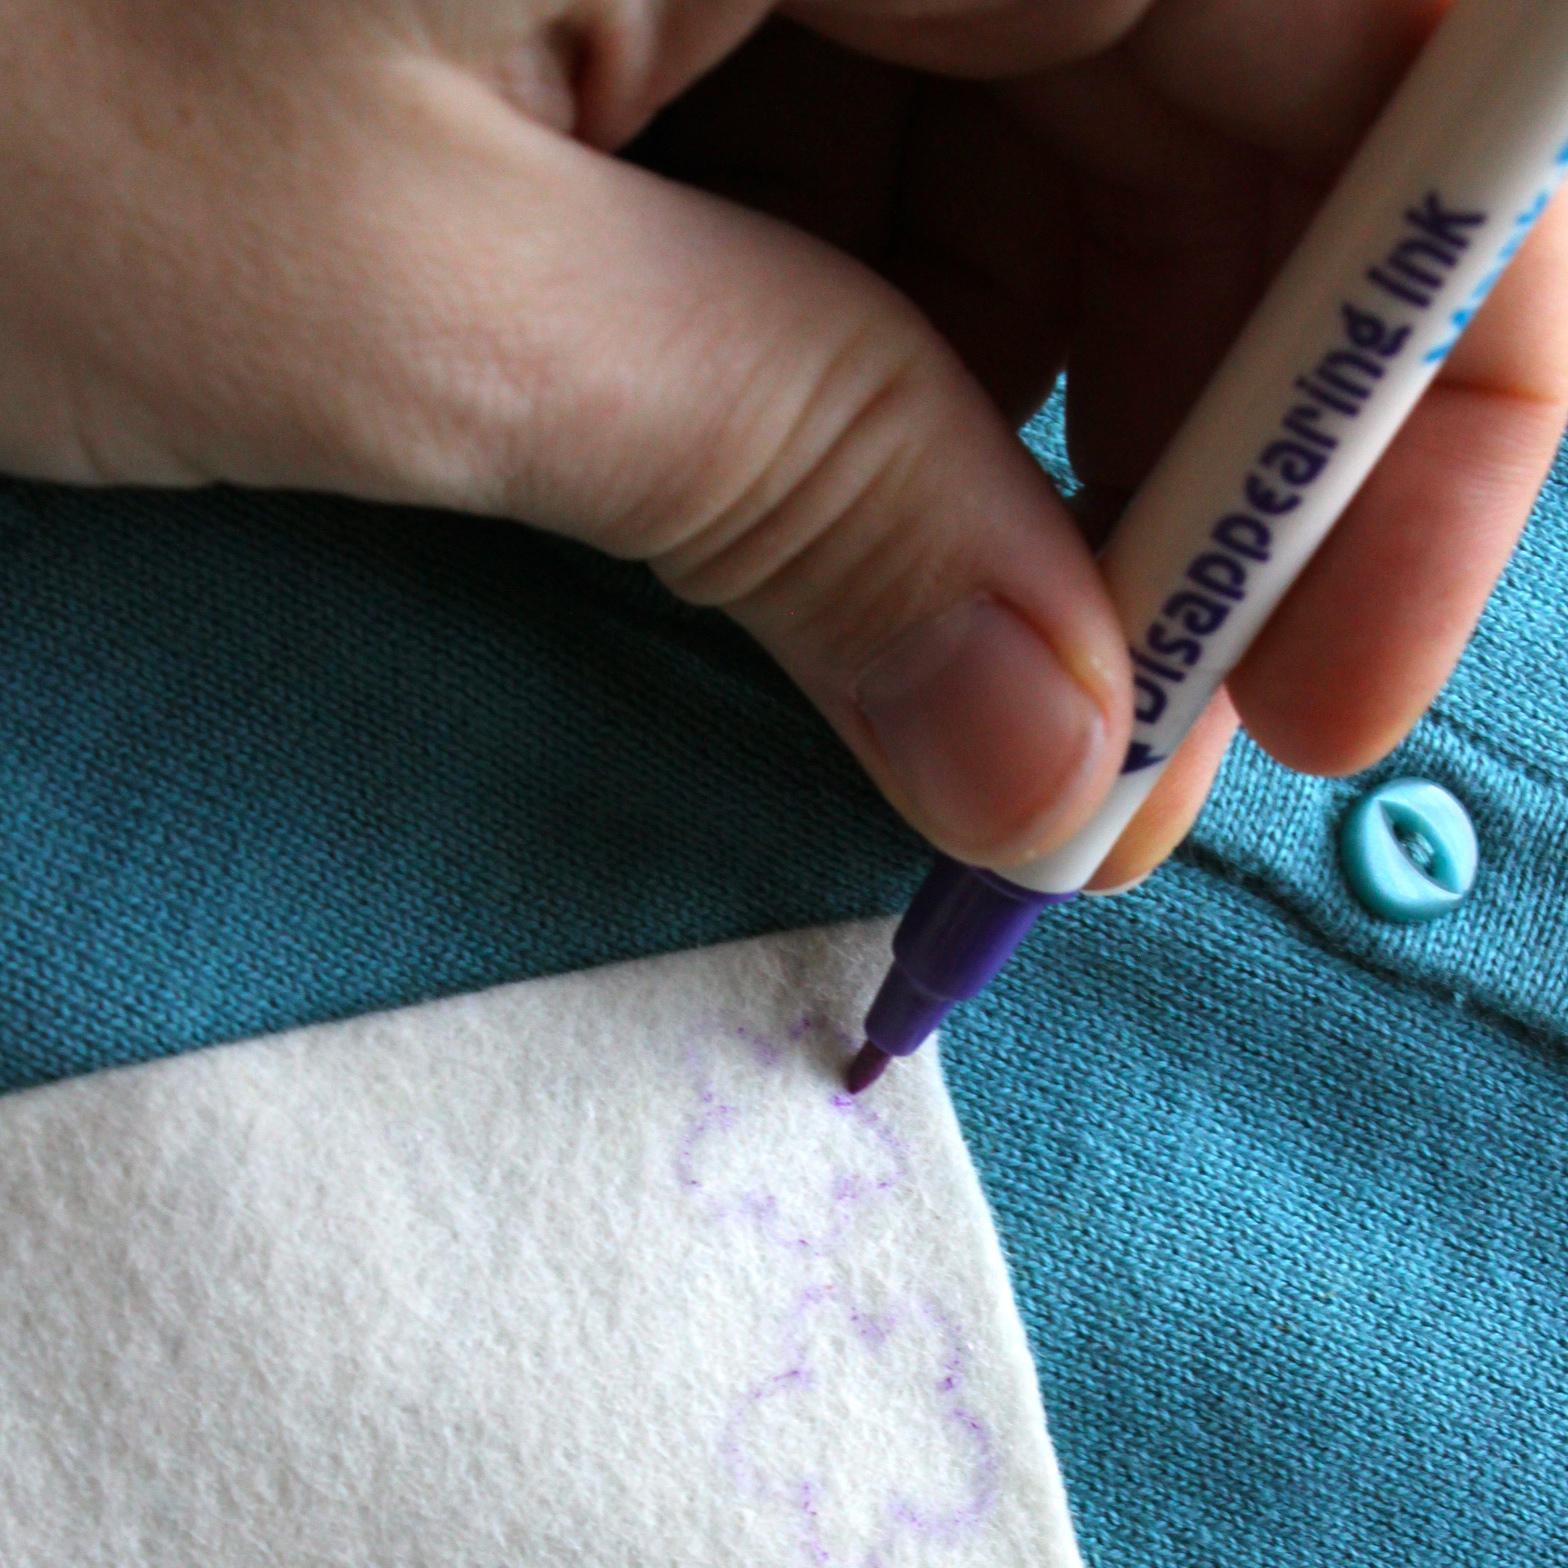
disappearing ink pen
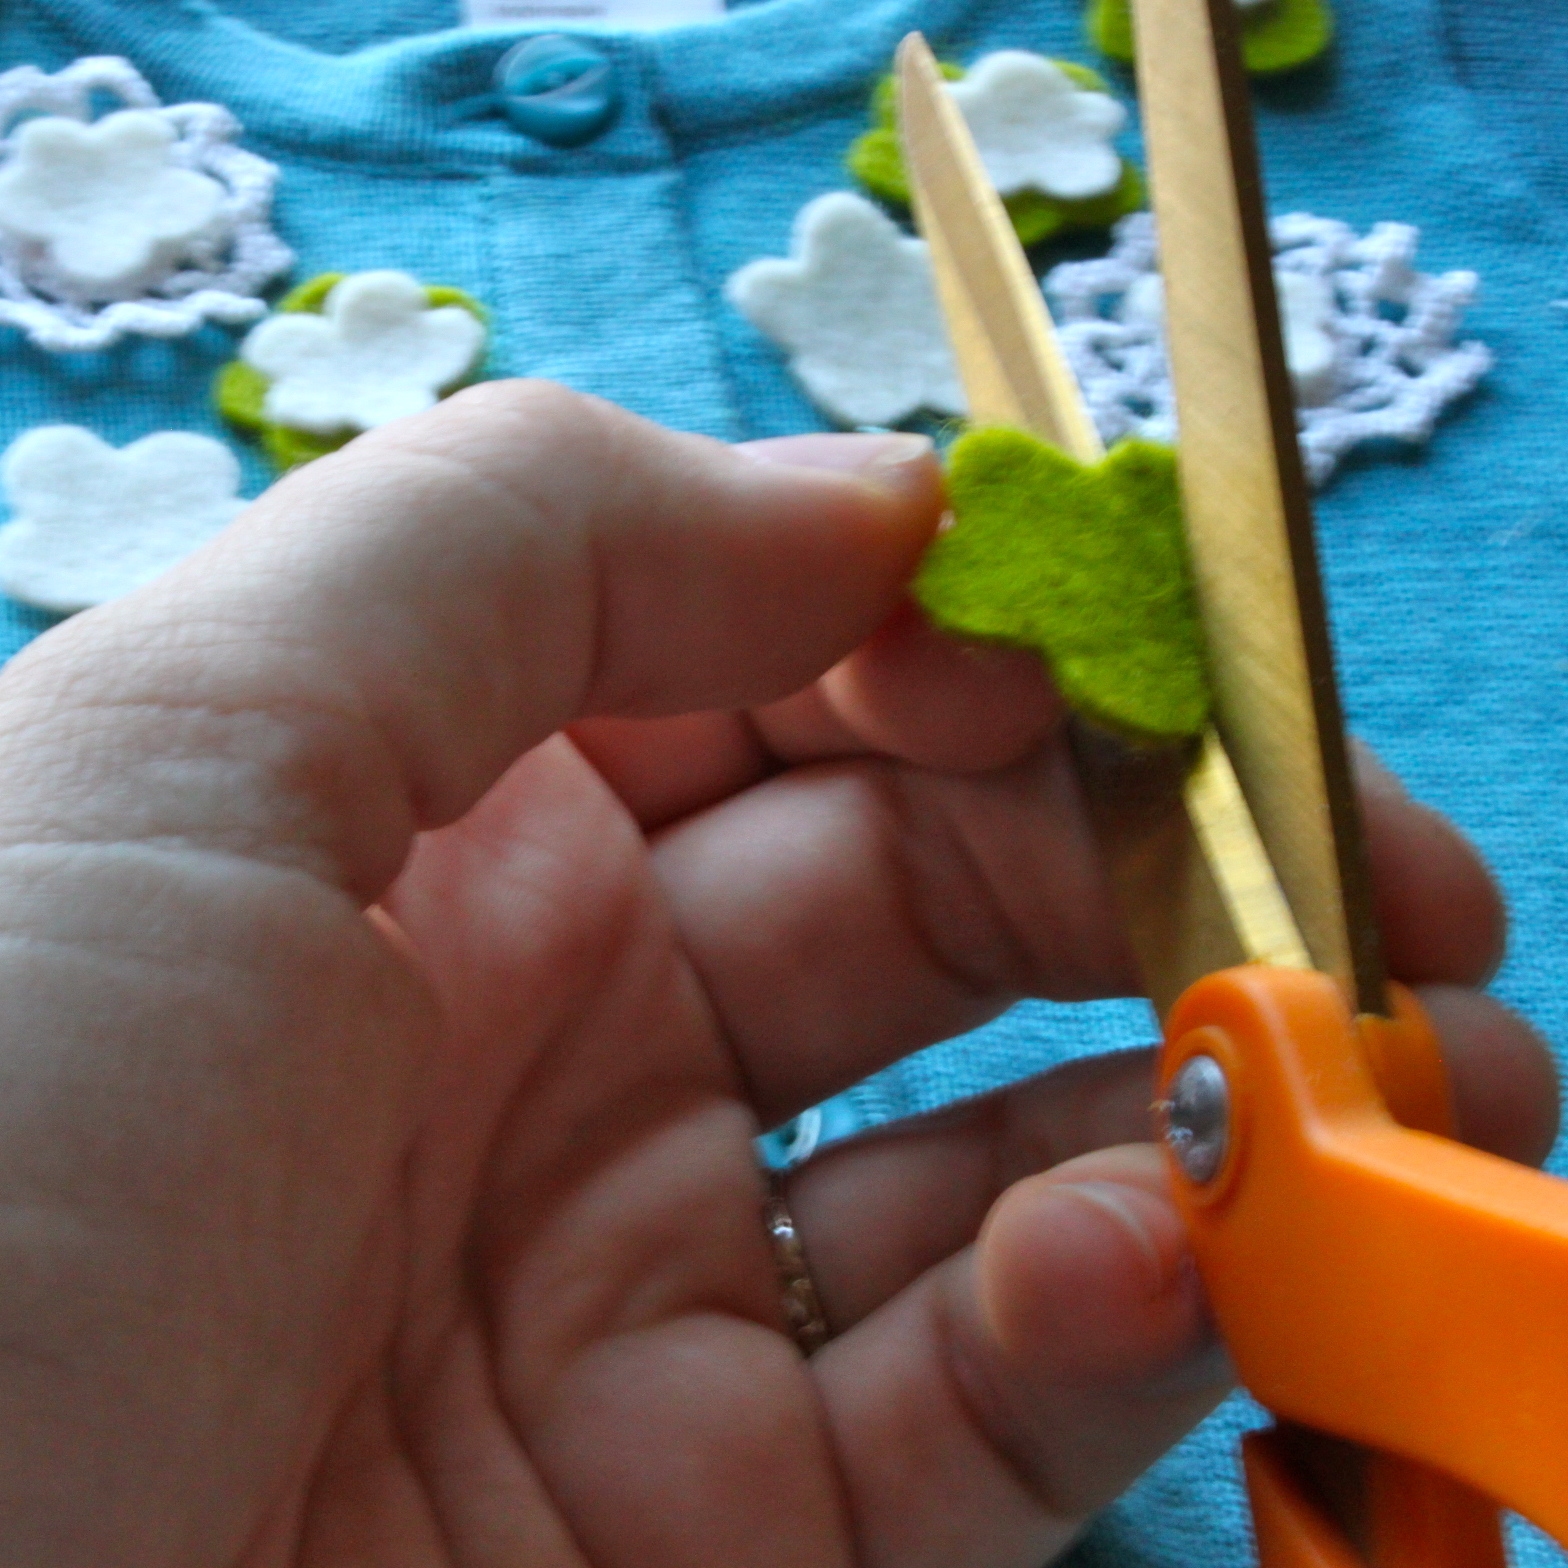
Now you are ready to roll...First sketch flowers with five rounded petals onto wool felt with disappearing ink. I made mine about the size of a nickel for the flower center and a quarter for the back flower piece. You will want to make about 7-8 flower pairs depending on the size of your cardigan. I used 2 different colors of merino wool felt but you can choose as many colors as you want. Once you have sketched your flowers cut them out with sewing scissors; you can also cut a few leaf shapes too.
I also chose to incorporate some crocheted lace that I had from a doily. I cut 2 pieces off and then positioned them on the cardigan with the other felt pieces in a rough arrangement of how I wanted to sew them. I then took a picture of the arrangement so I could move the pieces to the side but refer to the picture in case things got mixed up (which they did).


Now we are ready to sew. Thread an embroidery needle, knot the end, and then start with the top flower by the collar. Stack the 2 felt pieces and then stitch through them with three stitches to make a star shape in the center. Then using a stem stitch make your way to the spot for the next flower.


The next piece to secure was the crocheted medallion. To secure the crochet stitch around the edge and then place the felt piece in the center and secure it with another star shaped stitch.


Continue along the neck of the cardigan using a stem stitch between flowers to create a loose vine pattern and securing the flowers with a star shaped stitch. For the few leaves that I included I used a split stitch. Then when you reach the bottom side of the cardigan secure the thread with a french knot on the inside of the sweater. Now repeat the process from the top on the other side of the cardigan.


Once finished you will have created an heirloom cardigan which would have cost a heck of a lot more than $7 in a boutique. So now you can spend that money on some decor for the nursery instead, since that won't be outgrown in 3 months.

A final note on care, I plan on washing this by hand in cold water and laying it flat to dry. This will extend the life of the cardigan so I can pack it away once the little lady outgrows it to save it for future generations, mine or hers.